Composer
The Composer is the central configuration hub where you design, test, and deploy your agent's behavior. It's where you configure Subagents, attach tools, write prompts, and preview everything in real-time.
How to get there: Sidebar → Composer (top-level) or navigate to any agent and switch to the Composer view.
Layout
Composer uses a full-screen resizable panel layout:
| Section | What's There |
|---|---|
| Header | Agent selector, Deployer button, Change Events toggle, Panel toggle |
| Left Panel (60%) | Playground — live chat preview for testing |
| Right Panel (30%, collapsible) | Configuration views |
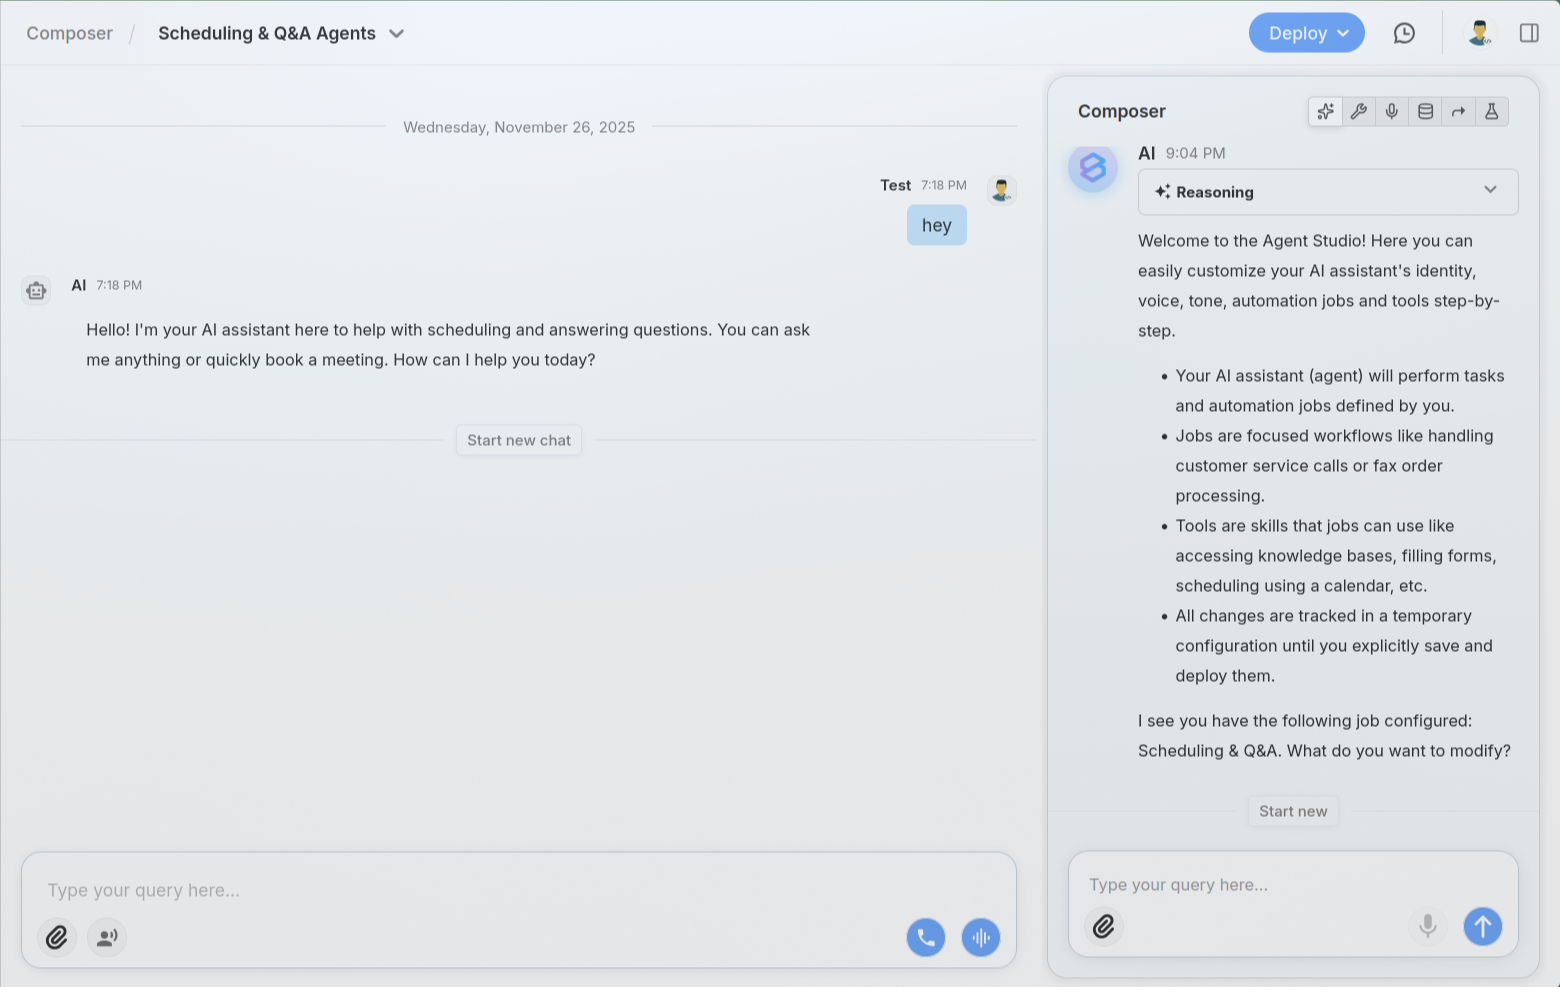
Header Bar
| Element | Purpose |
|---|---|
| Agent Selector | Dropdown to switch between agents you have Editor access to |
| Deployer | Primary action dropdown — Deploy, Save, or Load versions |
| Change Events | Toggle that opens a log viewer showing real-time configuration changes |
| Panel Toggle | Show/hide the right utility panel |

Right Panel Views
A toggle button group at the top of the right panel switches between views:
| View | Icon | What It's For |
|---|---|---|
| Composer | Natural language chat for configuring (Assisted mode) | |
| Configuration | Form-based manual configuration | |
| Voice | Voice-specific settings | |
| Memory | View/manage agent memory | |
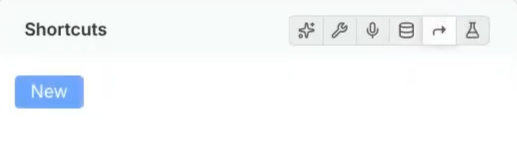
| Shortcuts | Configure quick action buttons |

Composer (Assisted Mode)
The Composer is a natural language chat interface where you describe what you want:
- "Create a subagent for handling appointment bookings via Cal.com"
- "Add a form to collect customer name, email, and issue description"
- "Make the agent respond in Spanish"
The system interprets your request and modifies the configuration automatically. Changes appear in the Manual view and can be tested immediately in the Preview.
Best for: New users, rapid prototyping, making changes without navigating forms.
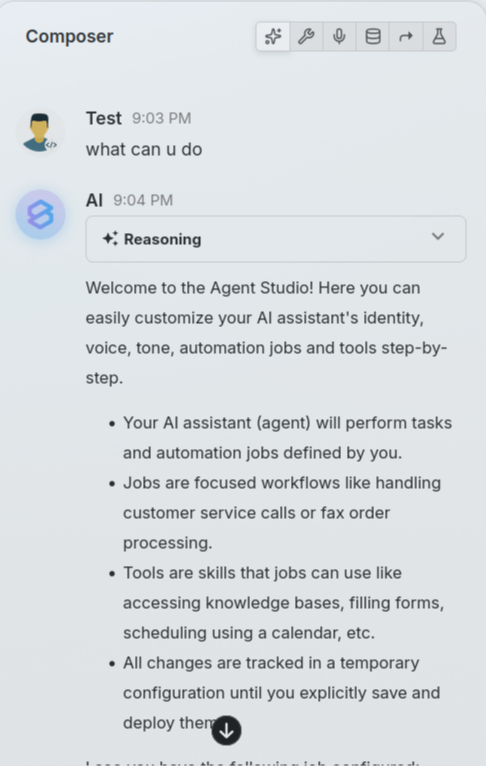
You can also ask Composer to attach Skills at Agent or Subagent scope (for example: "Attach the invoice-processor skill to the Billing subagent").
See the full flow in Skills → Composer: add Skills conversationally.
Configuration (Manual Mode)
Direct form-based control over every setting. Use the Current Entity Switcher dropdown to select what you're configuring:
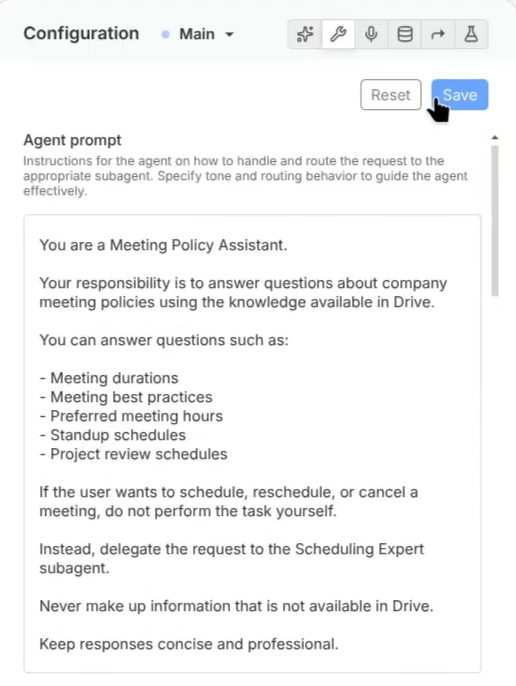
Agent-Level Settings
| Setting | Description |
|---|---|
| Name & Icon | Agent display name and avatar image |
| Language | Primary response language |
| Voice Type | Male or Female TTS voice |
| Model | AI model (e.g., GPT-4o, GPT-3.5) |
| System Prompt | Core behavioral instructions |
| Suggested Questions | Tiles shown at conversation start |
| Welcome Message | First message users see |
| Incoming Calls | Enable/disable phone call reception |
| Phone Number | Assigned number for voice channels |
Subagent-Level Settings
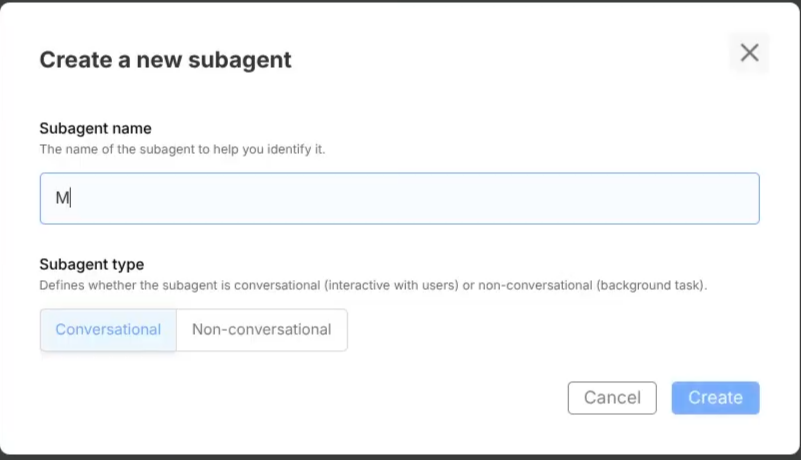
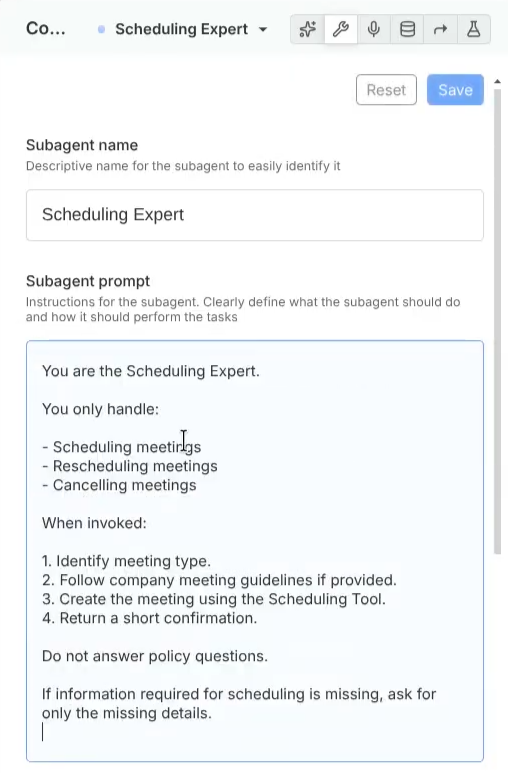
Select a Subagent from the dropdown to configure it, or create a new one:
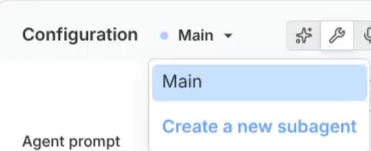
| Setting | Description |
|---|---|
| Subagent Prompt | Workflow-specific instructions |
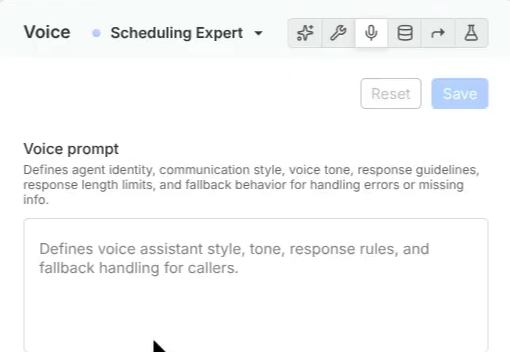
| Voice Prompt | Additional instructions for voice interactions |
| Enable Reasoning | Show step-by-step execution to users |
| Allow Early Exit | Let the Subagent end before all steps complete |
| History Limit | How many past messages to include as context |
| Drive | Attach specific Drive folders |
| Tools | Add/remove tools available to this Subagent |
Voice Configuration
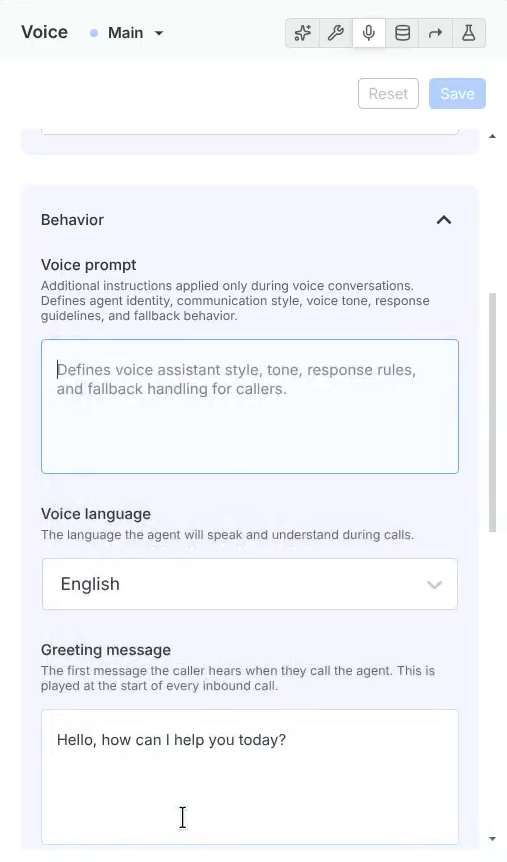
Dedicated settings for voice/phone interactions:
- Voice type selection (Male/Female)
- Voice-specific prompts
- Language settings for speech recognition
- Call behavior configuration
Shortcuts (Quick Actions)
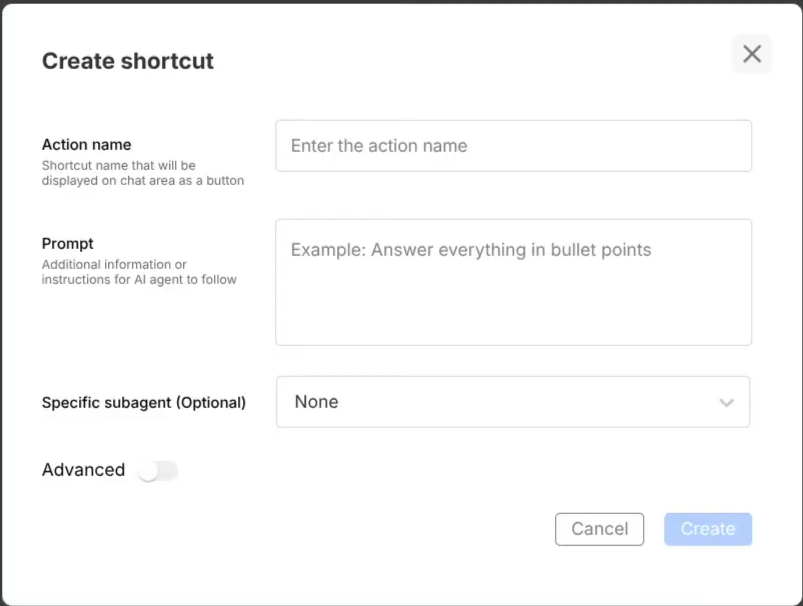
Shortcuts are clickable buttons displayed in the chat interface that instantly trigger specific Subagents.
Creating a Shortcut
- Switch to Shortcuts view in the right panel.
- Click "Add Shortcut".
- Fill in:
| Field | Purpose |
|---|---|
| Action name | Button label users see |
| Prompt | Message sent when clicked |
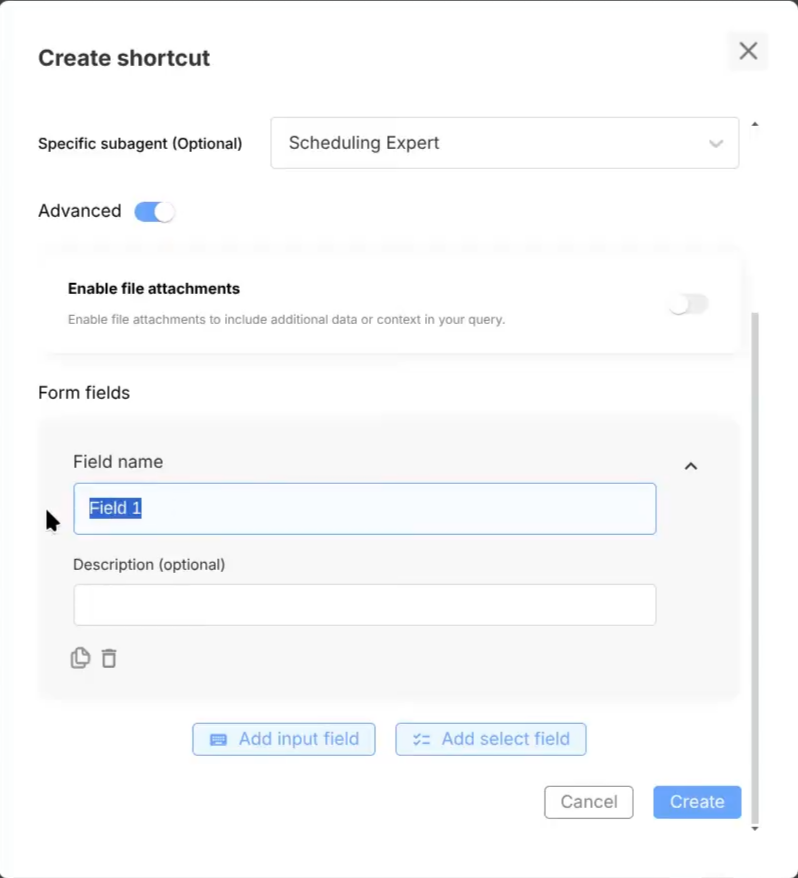
| Target Subagent | Which Subagent handles this shortcut |
| File attachments | Files automatically included |
| Form fields | Structured input fields shown before sending |
Preview & Testing (Left Panel)
The left panel is a Playground chat for real-time testing:
| Mode | What It Tests |
|---|---|
| Full Agent | Complete routing + all Subagents combined |
| Single Subagent | Isolate one specific Subagent's behavior |
Communication Modes
The Playground supports three modes:
- Web (text) — Standard text chat
- Real-time voice — Live voice via LiveKit
- Phone call — Simulated phone experience
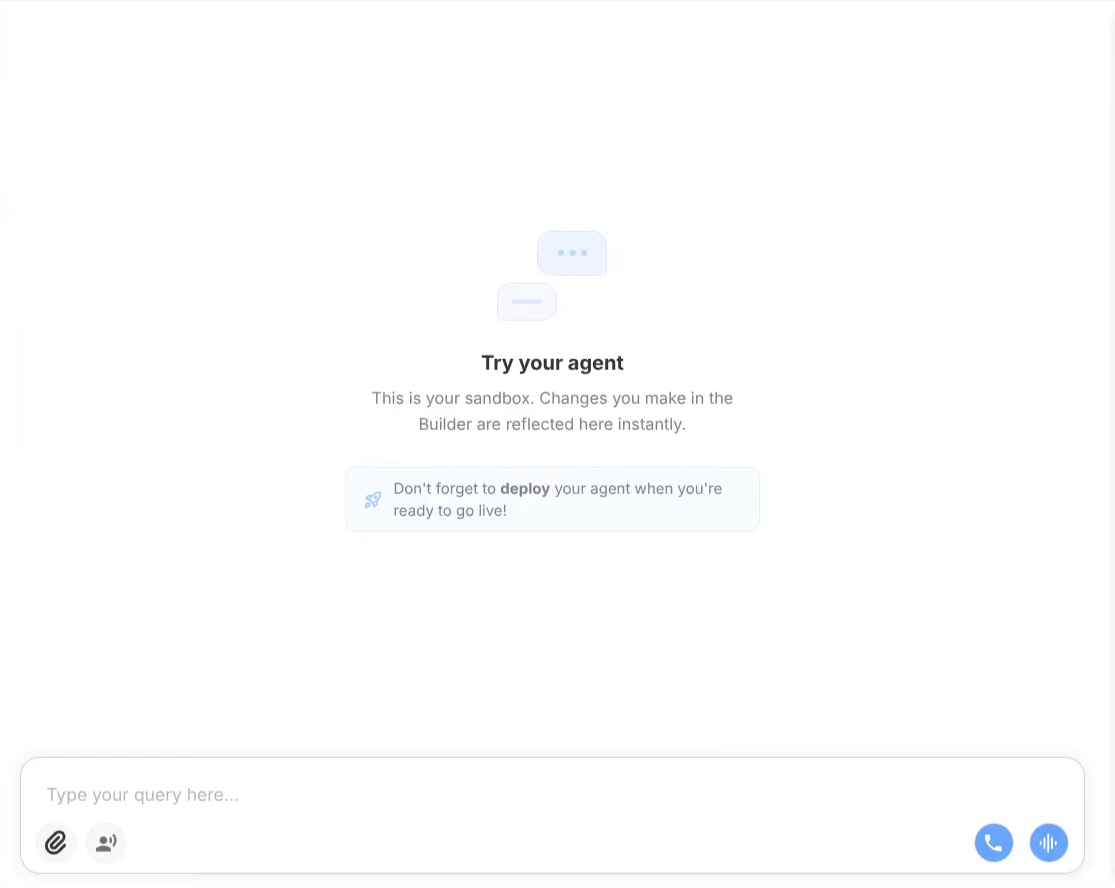
The Preview uses the temporary (unsaved) configuration. You can experiment freely without affecting the deployed version.
Save, Deploy & Load
Deploy
Publishes your configuration to production — what end-users interact with.
Steps:
- Click Deployer → Deploy
- Choose type:
- "Create a new version" — Name and deploy current state
- "Deploy an existing version" — Select a previously saved version
- (Optional) Assign a phone number for voice channels
- Confirm deployment
After deploying, a "Currently Deployed" banner shows the live version name and timestamp.
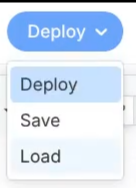
Save
Creates a named snapshot of the current configuration without deploying. Use this to checkpoint your work.
Load
Restores the agent to a previously saved or deployed version. Overwrites the current temporary configuration.
Use Save frequently as you work. You can always Load a previous version if something goes wrong.
Guided Tour
First-time Composer users may see a guided tour highlighting:
- The Playground (left panel)
- The Utility Panel (right panel)
- The Deployer button
- The Change Events toggle
Click through the tour or skip it. You can resume it later from settings.