Quickstart
Phase 1 — Foundation
1) Create your account and workspace
- Sign up at xmagic.ai/login
- Verify email
- Complete onboarding (name, avatar, workspace)
2) Confirm role privileges
Before building, verify you can:
- create agents,
- attach tools,
- access Drive,
- deploy.
Phase 2 — Build
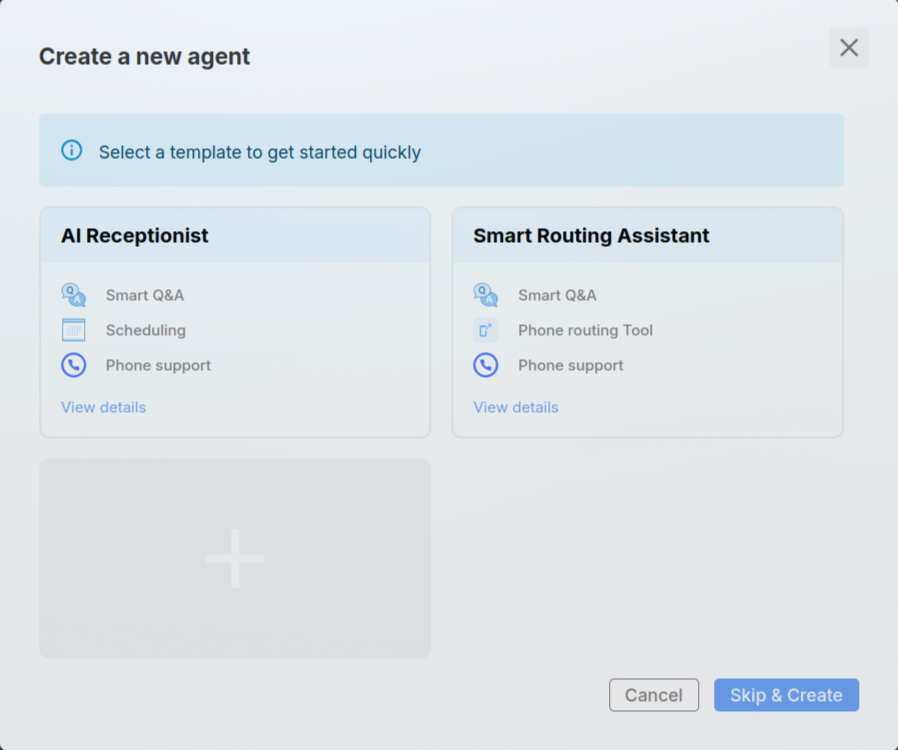
3) Create your first Agent
- Click + New Agent
- Start from template or blank
- Use clear business name
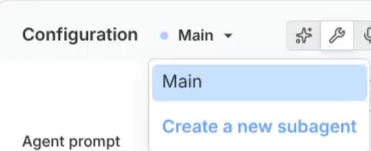
4) Open Composer and define Subagents
- Create focused Subagents (e.g., support, scheduling, billing)
- Keep each Subagent’s scope narrow
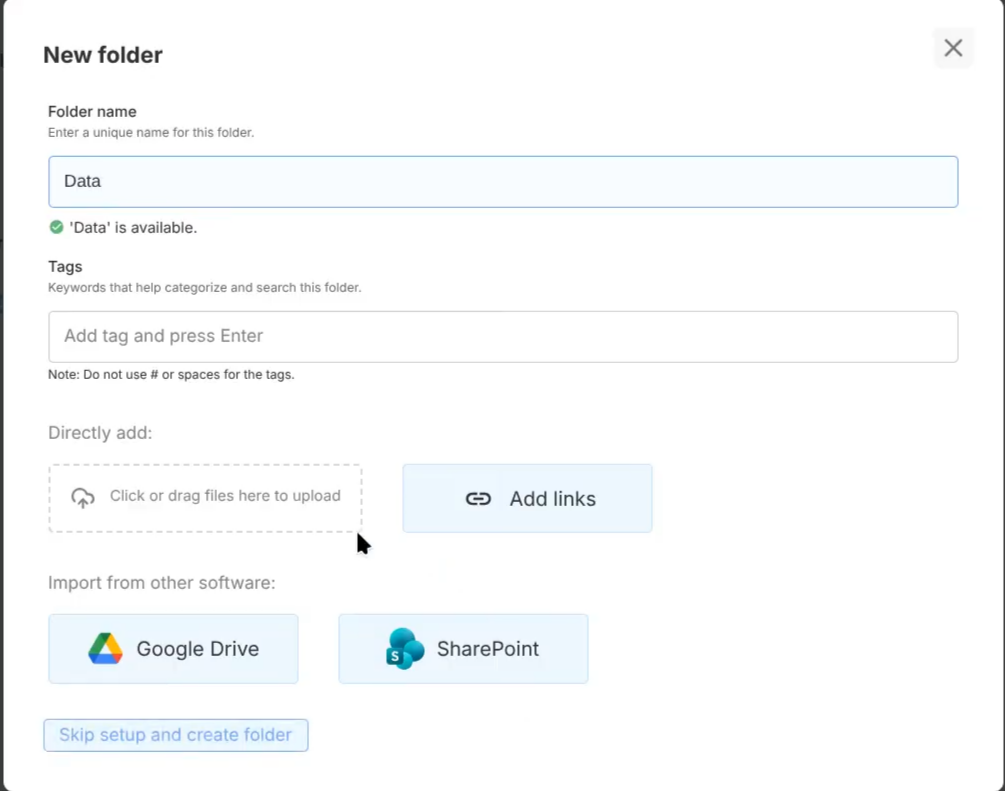
5) Add Drive context
- Create Drive folders by domain
- Upload docs/links/integrations
- Attach folder(s) to the right Subagent
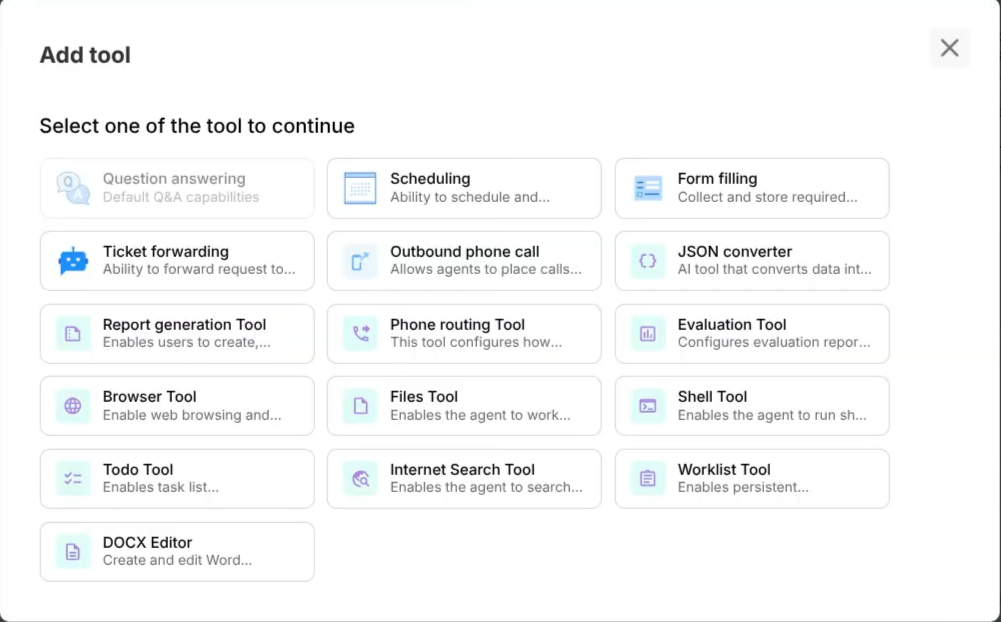
6) Add tools
- Configure tools per Subagent
- Add only what each Subagent needs
- Complete API keys/webhooks/fields
Phase 3 — Validate
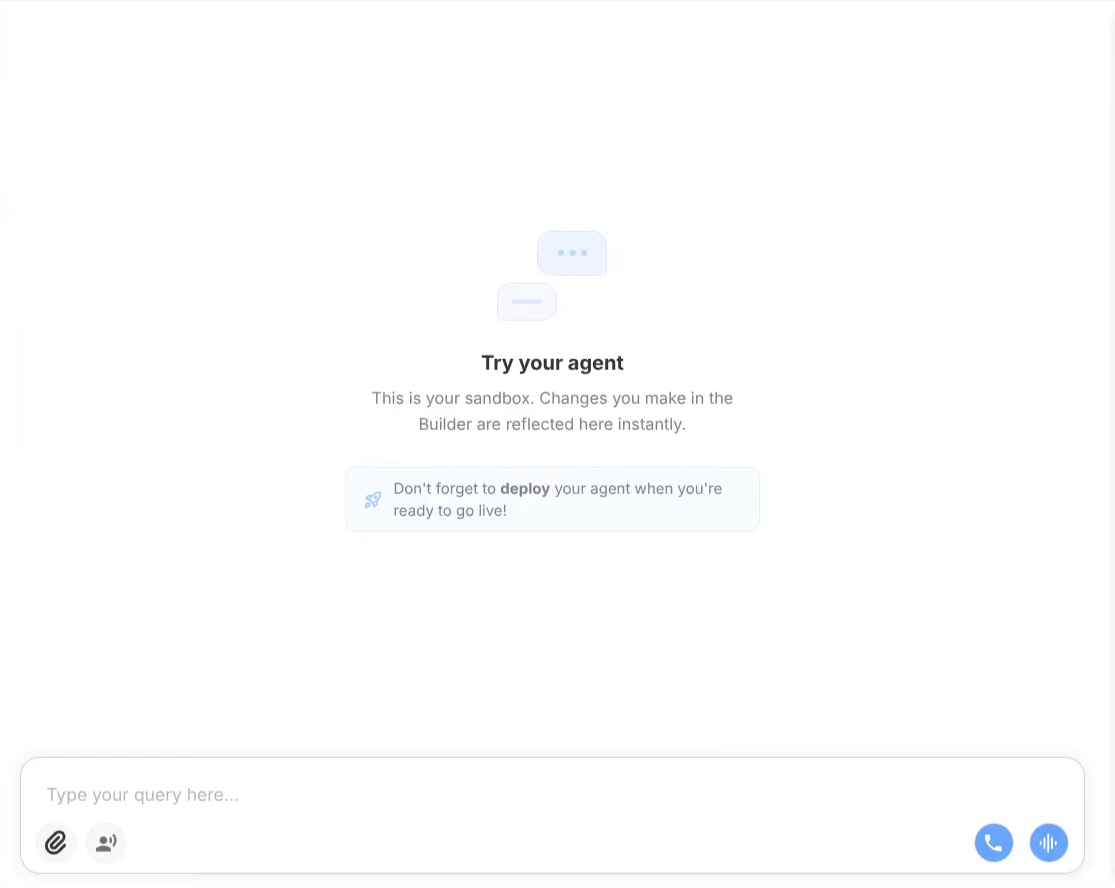
7) Test in Preview
Test both:
- Full Agent routing
- Single Subagent behavior
Use representative user prompts (happy path + edge cases).
8) Validate fallback behavior
Check:
- escalation path,
- error messaging,
- missing-data handling,
- guardrail compliance.
9) Save a named version
Use a traceable name:
v1.0.0-support-corev1.0.1-hotfix-routing
Phase 4 — Launch
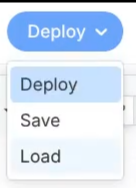
10) Deploy
- Click Deployer
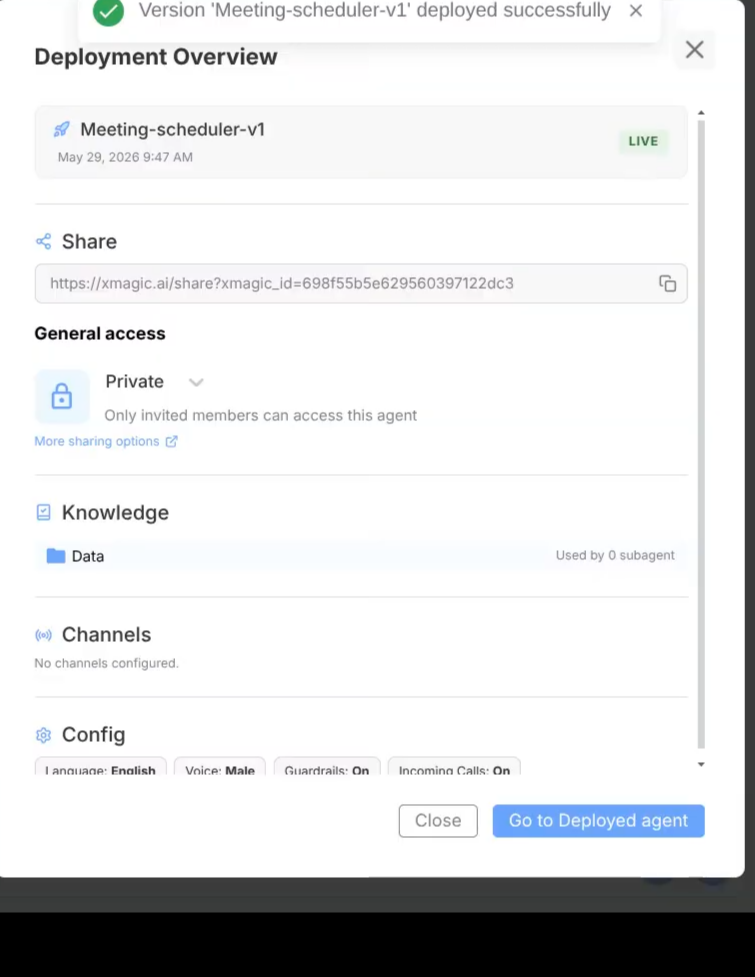
- Deploy saved version
- Optionally assign voice/phone configuration
11) Share safely
- Set access level intentionally
- Share link/embed only after validation
Phase 5 — Operate and improve
12) Monitor first-week quality
Track:
- Threads quality
- Feedback trends
- Worklist failures
- Artifact correctness
Then iterate and redeploy.
Go-live readiness checklist
- Subagent boundaries are clear
- Tools configured and tested
- Drive content attached and relevant
- Guardrails reviewed
- Escalation path validated
- Version saved + deployed
- Share settings verified
Common early mistakes
- Attaching too many tools to every Subagent
- Using broad Drive folders for narrow workflows
- Skipping preview tests before deploy
- Deploying without version naming discipline